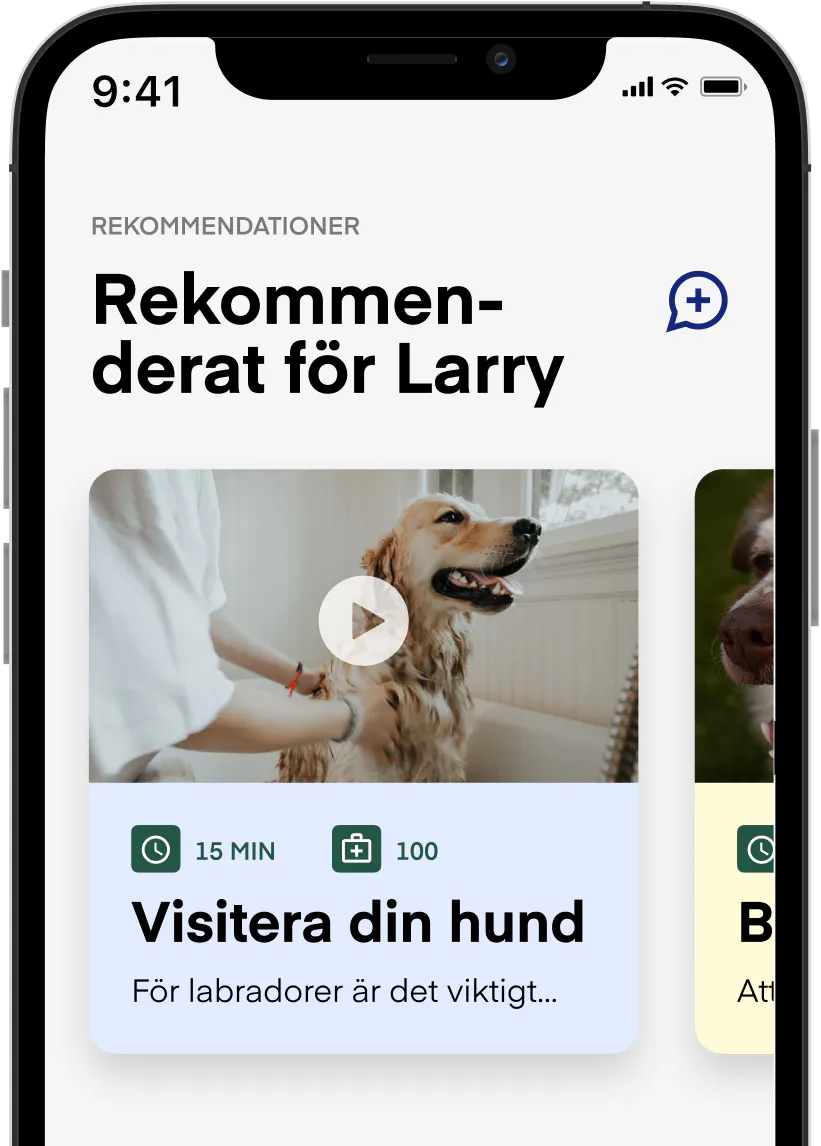
How to teach your dog the "look at that" game
It’s tough when your dog reacts strongly to their surroundings. This could be a dog that lunges at other dogs, barks constantly at passers-by, jumps at cars while on the lead, or runs up to strangers on loose walks in the woods. Does this sound familiar? If so, the "look at that" game can be a fantastic tool to teach your dog alternative behaviours.
Alternative behaviours
When your dog displays undesirable behaviours in certain situations, it’s best to focus on teaching them alternative actions rather than just addressing the problem behaviour. This gives your dog the chance to choose behaviours that don’t involve barking, lunging, or running towards things like cars, cyclists, or skateboards. Clicker training helps teach your dog an alternative behaviour that is clearly rewarded and becomes valuable to them.
Clicker training also allows your dog to observe their surroundings. We don’t want dogs to be constantly glued to us! This helps your dog, especially if they’re nervous or fearful, to relax because they’re aware of what’s happening around them and feel in control during training. A useful tip is to wear a treat belt so you’re always ready with rewards.
Why use the "look at that" game?
Whether your dog is frustrated, excited, scared, or anxious during encounters with other dogs, people, cars, or cyclists, the "look at that" game is a brilliant alternative behaviour. Your dog learns to notice things in their environment, and this shifts their focus back to you, their owner. This works whether your dog is on a lead, behind a fence, or off-lead (but start practising on a lead to maintain control and prevent unwanted behaviours). Let’s get started with the steps to help you succeed with your "look at that" training!
"Look at that" game, step by step
You'll need:
Plenty of high-value treats your dog loves and a clicker.
Step 1
Get your clicker and treats ready. Click the clicker, then immediately give your dog a treat. Repeat this many times. Now, wait until your dog isn’t focused on you, click, and see if they react. If they do, you’ve successfully created a positive association between the click sound and the treat. Remember to always reward after a click – for the rest of your dog’s life.
Step 2.1
It’s time to start clicking when your dog notices something in their environment. Crucially, at this stage, your dog shouldn’t have any strong emotions or reactions tied to what they’re seeing. So, don’t start clicking when your dog sees something they find scary or highly tempting, like other dogs or cyclists on your walk (we’ll call these ‘triggers’ from now on). Begin by having your dog notice something neutral, like a bin or leaves rustling in the wind. Once your dog understands the sequence – noticing something, hearing the click, getting a treat from you – you can build on this. Don’t rush; this requires lots of repetition!
Step 2.2
We’re still working with triggers that your dog doesn’t have a strong reaction to. For some dogs, especially those who are nervous or fearful of certain triggers, you might find it helpful to prepare them. Say "Look at that" when you spot a trigger, giving your dog the chance to look around, notice the trigger, hear the click, and then receive a treat from you. This isn't essential but can be useful if you spot a trigger before your dog does.
Continue to click when your dog looks towards a trigger and reward them at your location. You’re not asking your dog to keep staring at you; it becomes a dynamic exchange: look at trigger, click, treat at your location, look at trigger, click, treat at your location, and so on.
Step 3
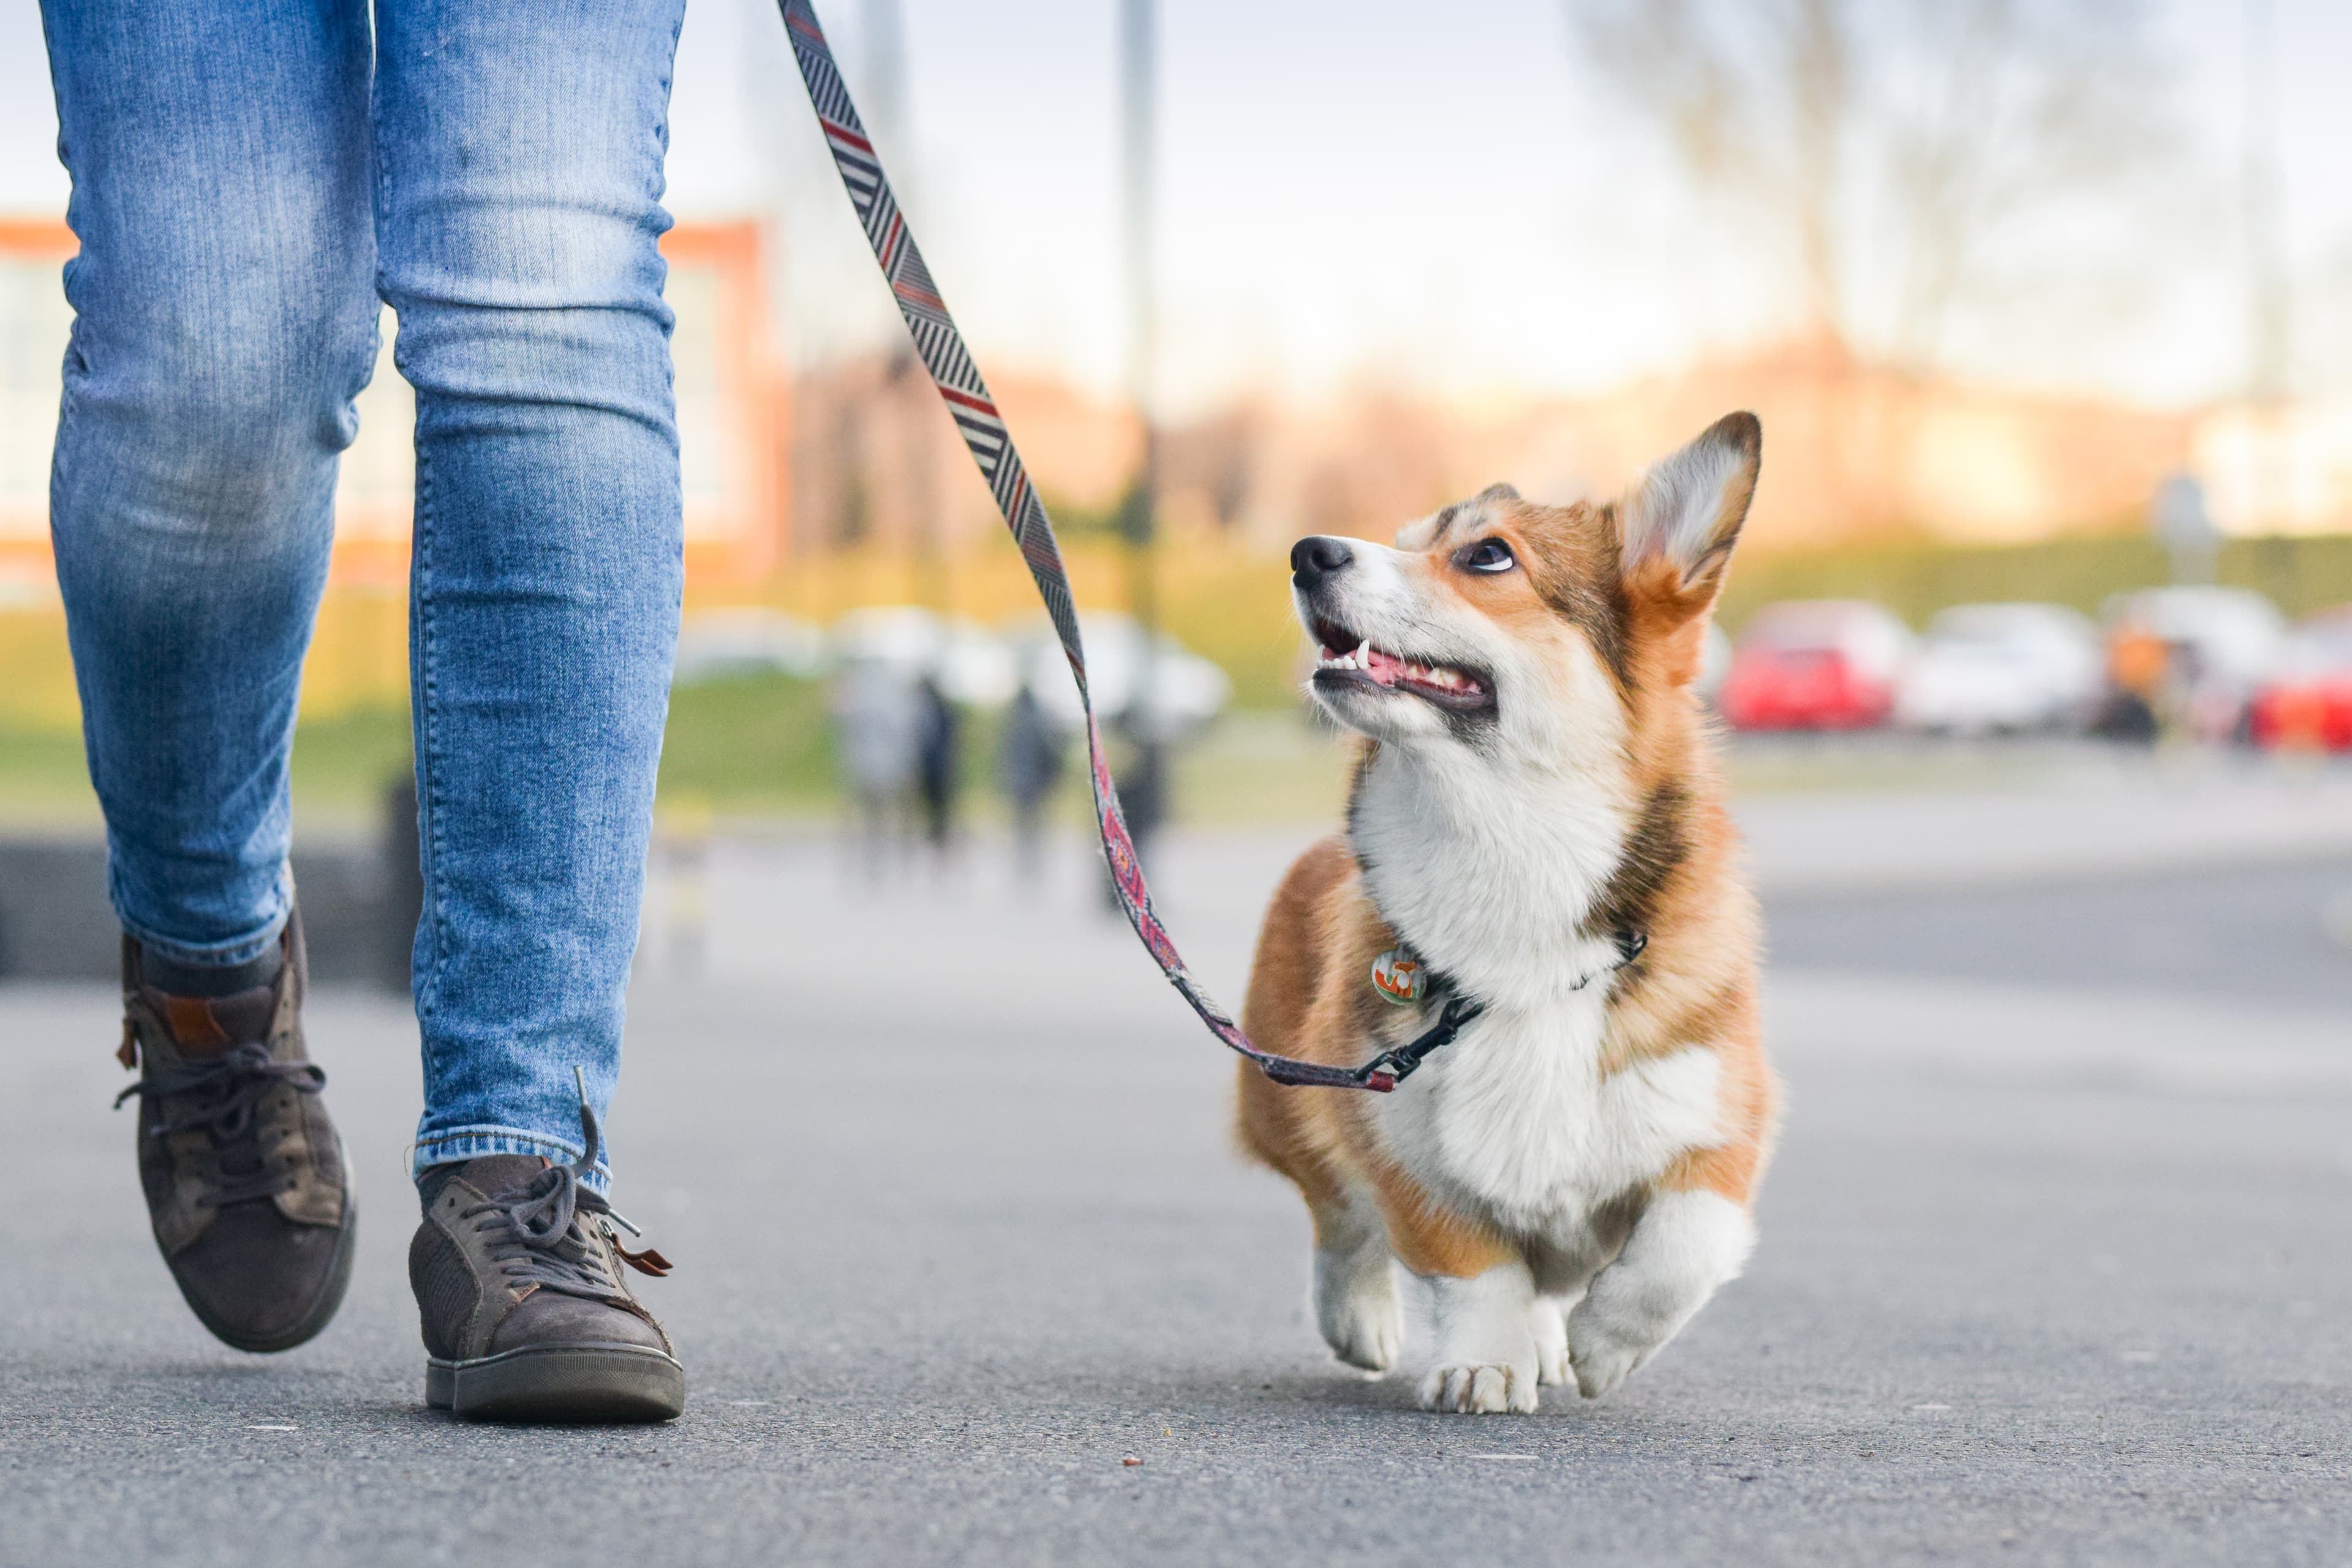
Now, start practising with the actual triggers your dog reacts to – maybe a car or another dog on a walk. The key to success here is distance. Always start at a significant distance from the trigger and gradually work your way closer.
Here’s how:"Look at that", dog looks at trigger, click, treat at you, dog looks at trigger, click, treat at you, and so on, for the entire duration of the encounter.
Step 4
You’ll notice your dog becoming more relaxed when looking at their trigger. This is because you’ve given them a clear job to do. Dogs also relax more with this training because they have a sense of control – they can observe their surroundings and have a specific task. Continue practising with your dog’s triggers, gradually decreasing the distance, and always remember that the training is on your dog’s terms.
Keep in mind
If your dog doesn’t look back at you after seeing a trigger, it might mean:
You’ve moved too fast – go back to Step 2.1
You’re too close to the trigger – create more distance and continue training
You’ve trained for too long – end the session and try again another day